Picture Perfect Pour: From Flat to Refresh

How to thoughtfully edit your pics sitting in your camera roll

One of my favorite content secrets? I rarely settle for the first version of a photo. I've been sitting on these photography tips and tricks for awhile now. I get asked a lot about who takes my pics and it's just me for the most part. I use my trusty tripod and hit the self-timer. There are instances where someone will take my pics for me but I'm particular about lighting, frames, angles, background to where the average pic taker could care less, lol. If you are looking to bring some life into these beautiful captured moments...keep reading on how to thoughtfully edit so they don't look so dull.
Full Disclaimer...I am NOT a photographer, lol. I do not walk around with a fancy $5k Canon/Nikon and have no idea about the many settings to get a pic so crispy you can count the pores on somebody's face. I've literally learned from playing around with the settings myself to adopt the look I like.
Editing isn't about changing reality. It's about helping your camera reflect what your eyes actually saw. A touch of exposure, a little brilliance, a slight adjustment to warmth, and suddenly an ordinary snapshot feels worthy of the front page. Don't underestimate what your iPhone's (or those other phones, lol) editing tools can do. Although this can feel like rocket science...I can ease up the pain and tell you-it's not. When you take a pic, edit it from the photo by clicking the settings (this is for apple guys) and you'll see the options: Adjust-Filters-Crop. If I already have the perfect lighting, I'll hit the "magic wand" and DASSIT. It does all the adjusting for you BUT within the easy adjustment, you can also toggle between the other options next to it i.e. exposure, highlight, brightness, black point...to name a few. Now THIS is where the rocket science can come in, lol.
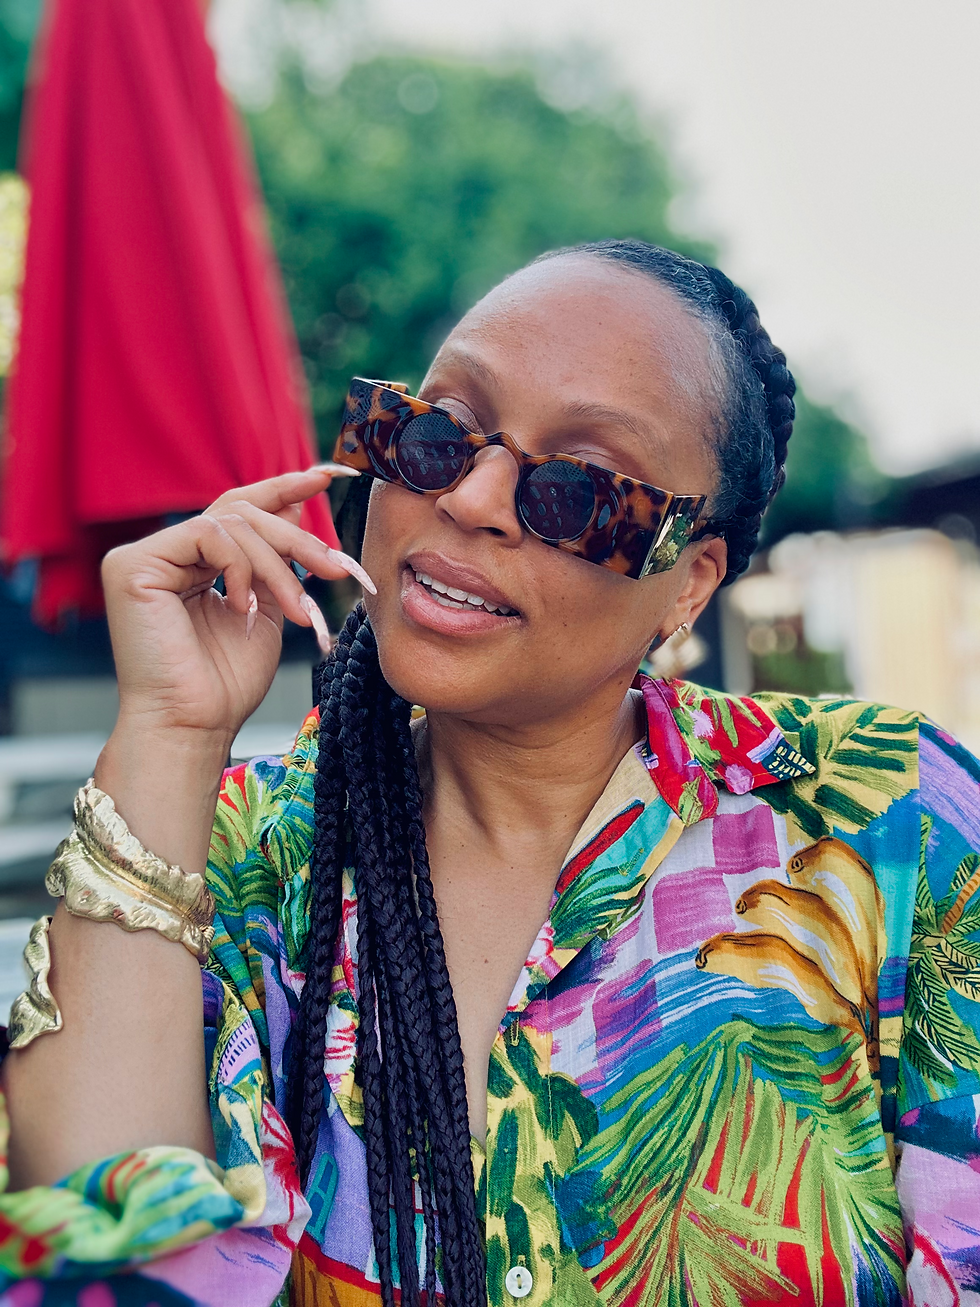
In the example below; here's my before and after with some corner notes on what I slightly did. Can you spot the differences?
Now I could've just did the quick adjustment and hit the magic wand but that's no fun, why stop there, lol. I changed the exposure and went BACK for a darker look then changed the adjustments within the Dramatic Cool filter to pop the rest of the colors and refine the jewelry to pop.
Beginners Guide:
Start off with trying the different filters: Vivid, Dramatic and Black n White. Depending on what colors I'm wearing determine the cool and warm options-just one tap of your choice and DASSIT. The ones I use the most are Dramatic Warm and Vivid Cool. If you want to graduate, use adjustments of the shadows, contrast, brightness, saturation, vibrance and warmth to change up the pic.
Think of editing like adding the finishing touch to your favorite cup of coffee. Before you delete a picture, spend a minute editing it. The photo is already good, you just need a few quick adjustments to fully bring it to life for it to be ready to share.

Comments